 |  |

LATEST VERSION
0.14 (2008/01/31)
0.14 (2008/01/31)
Introducting CallieThe latest version of Callie is v0.14, 2008/01/31.
Callie is a program that allows you to design and print your own calendars. Providing a wizard-style interface, Callie guides you through the process of making your own calender. Printing onto A4 or A5 paper, portrait or landscape, every calendar page consists of two elements:
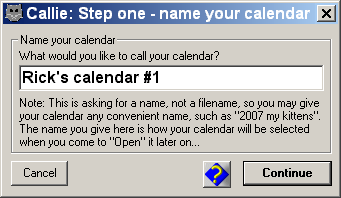
A walk-throughNAME YOUR CALENDARThe first step in creating a calendar is giving your calendar a name: 
CHOOSE A PAPER SIZE
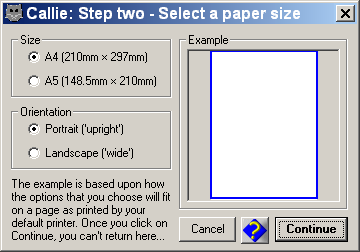
Once you have done this, you need to pick a paper size. The white rectangle is the paper size of the printer - this will usually be A4. The blue rectangle within this represents the calendar size - A5 or A4. 
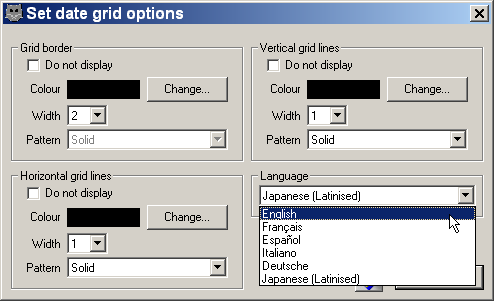
DESIGN THE LAYOUT You will then progress to the designer. Here you design the look'n'feel of your calendar. You will design and place the date grid, and a 'picture object' (which is a light blue rectangle). Here, you can set various aspects of the date grid, including the language to use.  Here you can see the grid options: 
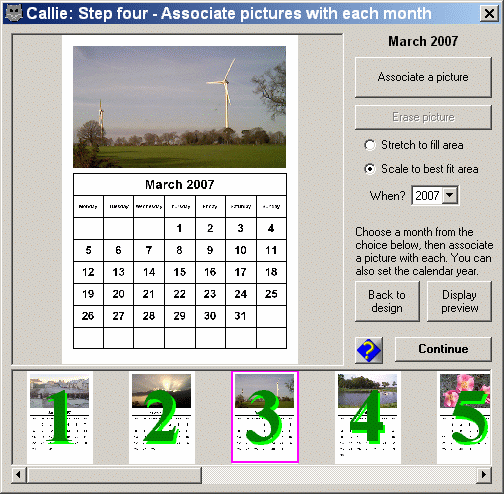
ADD PICTURES The next stage is to assign pictures to each month, and also to select which year you would like a calendar for.  In the design and picture association stages, you can call up a preview to better see how things will look. The language shown is latinised Japanese, one of the six languages built into Callie. This picture has been scaled down. 
PRINT IT!
The final stage is to print your calendar to the system default printer. 
As you can see, each step is clear and easy and makes the creation of simple calendars a non-fuss task for anybody! |