It is the 1863rd of March 2020 (aka the 6th of April 2025)
You are 3.147.2.230,
pleased to meet you!
mailto:blog-at-heyrick-dot-eu
Cement repairs
The thing about getting stuff done around here is to avoid looking at the bigger picture. If I did that, I'd have a panic attack and put this place on the market. Too much land, too many weeds, too many outbuildings, too "state of the eighteenth century", too something or other.
The way to do it is to have an idea of things that need done, and to see how I feel on any given day. Then, tackle everything little by little.
Today's task was to fix the damaged concrete along the drain-away in front of the outbuilding. Years of water falling from the roof, ice expansion, and heat and... it was not in great shape.
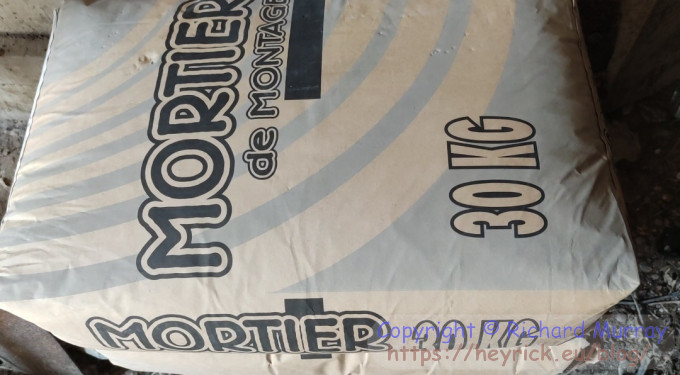
In preparation for doing this, I got myself two 30kg bags of mortar from a local DIY place. Mortar is a mixture of sand and cement, which is what I was looking for as the old stuff had sand and a rather rough grit in it to bulk it and give strength.
Bags of mortar.
It turned out, the mortar had expired (in July). It has an expiry date...who knew? Still, it explains why it said eight euros on the shelf, and two bags came to a little over eight.
Of course, I wasn't going to question that. Not when it was in my favour, as it so very rarely ever is.
The instructions were simple but complicated. Simple, because it was "take three to three and a half litres of water and slowly mix in the contents of this bag until it forms a homogenous paste".
Complicated, because... what the hell am I going to dump thirty litres of mortar into? I only had a small 10 litre (€0,99!) plastic bucket.
So I put a litre of water into the bucket and guestimated a third of the sack. Probably got it quite wrong, but... it made a thick paste that I could hold in my hands to form a ball. If anything, the proper mixture is likely to have wanted to be even drier.
But, let's backtrack a little.
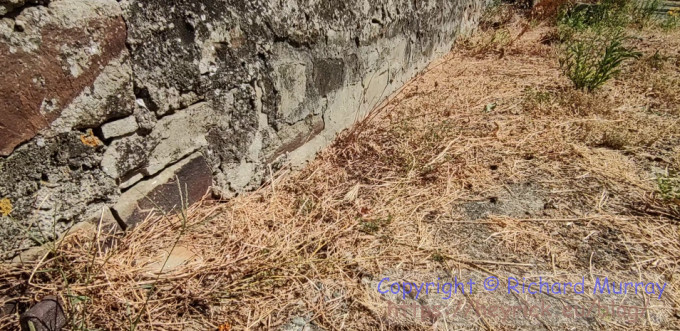
I started with this mess.
What a mess!
The first job was to scrape away the weeds using a rake. Then with a screwdriver and an old knife, go along and deal with weeds in the cracks.
Once that had been done, use the screwdriver to gouge out where the cracks are (usually full of mud).
Then, with the hosepipe and the water-jet tool, blast away all the dirt and grottiness, paying attention to get into the cracks.
This took a while as I had to stop every so often and scrape out the mud so it didn't go into the storage tank.
The end of the drainage channel is a big underground concrete storage tank. For keeping water for cows, I think. I have no idea how big, I've never measured the depth or looked at what's actually down there. One time I popped the lid off (a big concrete square with a ring in the middle for pulling it up), a large snake glared at me, so I put the lid right back on again.
Weird wildlife lurks in dark wet places, so unless I need to know, I'll leave it the hell alone.
Using the cement mix, I simply went along pushing it into the gaps, and patting it flat. I don't know if it will actually drain correctly or if any part will collect water, but, then, the "before" was not only a failed drain, it allowed weeds to grow. And grow they did!
In some places, the only useful option was to reach for my friend the pickaxe (total overkill, a hammer would have done it, but the pickaxe was more satisfying) to break up what was there, clean out the crap, and fill the hole with fresh concrete.
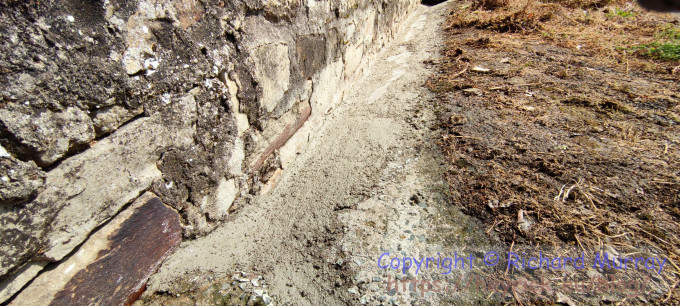
In the end, this.
Drainaway repair.
That took two and a half buckets. Or about three quarters of a sack of mortar.
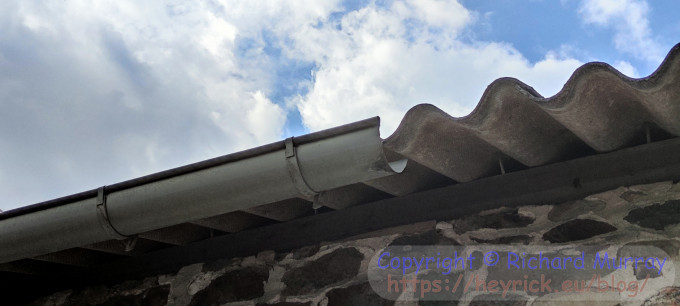
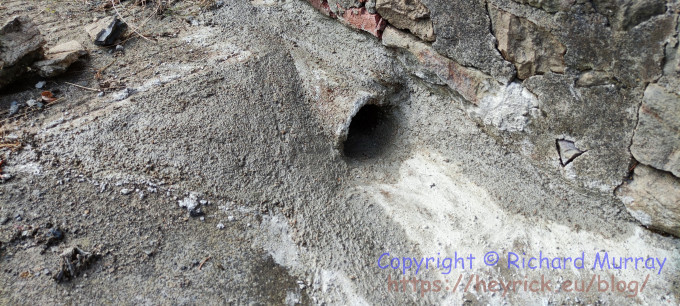
Since I had some left over, I went to fix by the sliding door closer to the house. This one has a short length of guttering over the door.
The gutter problem.
The gutter is good for humans, but water pours off the end of it and has about two and a half metres to fall. This had not only eroded the previous cement, it had also started to bore a channel down to the netherworld.
I didn't need the pickaxe for this. I just picked up the broken pieces of concrete, pulled out the dead weeds, and blasted the rest with the water jet.
I also took a moment to push the chimney sweep brush through the concrete pipe, twice, to be sure it wasn't clogged with leaves or anything.
Then I was ready to reconstruct what used to be there. Sort of.
Reconstructing around the drain.
The curved slope (to the immediate left of the drain tube) used to be flat. I am hoping that by making it curved, it might have slightly better resistance to the water pouring down from above.
I also filled in gaps in the wall where water had eroded the cement between the stones/bricks.
There's more to do, but I ran out of cement. The worst of it has been shored up.
Thankfully, it was a dry day today so it had sun and clouds. The cement is still pretty wet to the touch, but it is also hard. It'll take a little bit longer to dry fully.
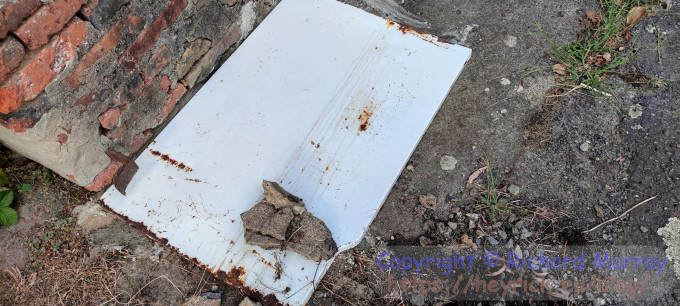
In case it rains tonight, I have covered it with the side panel of the old washing machine. It'll probably make a heck of a noise, but so long as it doesn't have the water pelting down on it before it has fully hardened...
Weatherproofing! ☺
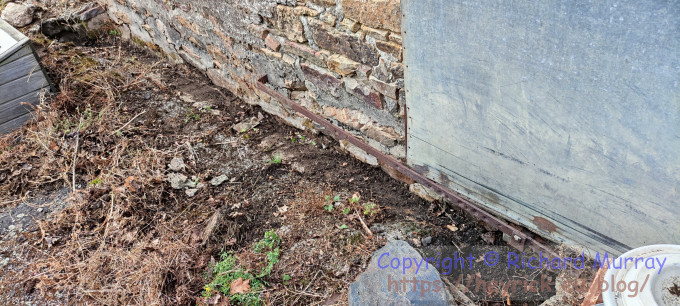
After finishing Paper Girls (weird, but interesting, story), I did some preparatory work on the other side.
This needs work too.
I've not pulled the weeds, opened up the cracks, or washed away the gunk. But as you can see there's a lot that will need to be patched up here.
But, that's for another day.
Your comments:
Please note that while I check this page every so often, I am not able to control what users write; therefore I disclaim all liability for unpleasant and/or infringing and/or defamatory material. Undesired content will be removed as soon as it is noticed. By leaving a comment, you agree not to post material that is illegal or in bad taste, and you should be aware that the time and your IP address are both recorded, should it be necessary to find out who you are. Oh, and don't bother trying to inline HTML. I'm not that stupid! ☺ As of February 2025, commenting is no longer available to UK residents, following the implementation of the vague and overly broad Online Safety Act. You must tick the box below to verify that you are not a UK resident, and you expressly agree if you are in fact a UK resident that you will indemnify me (Richard Murray), as well as the person maintaining my site (Rob O'Donnell), the hosting providers, and so on. It's a shitty law, complain to your MP. It's not that I don't want to hear from my British friends, it's because your country makes stupid laws.
You can now follow comment additions with the comment RSS feed. This is distinct from the b.log RSS feed, so you can subscribe to one or both as you wish.
J.G.Harston, 16th August 2022, 15:21
My gable end wall was replastered about 15 years ago, about six inches of modern gypsum plaster straight onto the brickwork. Consequently, it's a cold as a cold thing, it sucks heat out of the room, it's so bad it kills wallpaper paste within seconds of attempting to stick paper on it. Also, it's been fluorescing and looks like it's covered in silicon-based mould.
So, last week I bit the bullet and cleared the room and wall, and have been dry lining it - fixing a timber frame to the wall and covering it with plasterboard. I've managed one hour a day after work putting up one panel each time. ;) Last Friday I knackered myself carrying two 25kg sacks of finishing plaster into the house. When I get the energy, that's the next step. :)
This web page is licenced for your personal, private, non-commercial use only. No automated processing by advertising systems is permitted.
RIPA notice: No consent is given for interception of page transmission.