It is the 1800th of March 2020 (aka the 2nd of February 2025)
You are 18.217.14.208,
pleased to meet you!
mailto:blog-at-heyrick-dot-eu
Getting started with Ovation
Ovation as a word processor
Ovation functions perfectly well as a basic word processor. If this is what you would like to do, then start Ovation, click on its iconbar icon to open a new document, and start typing.
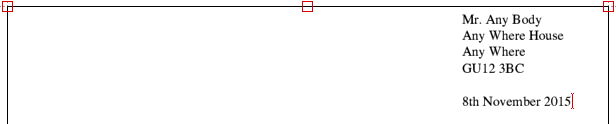
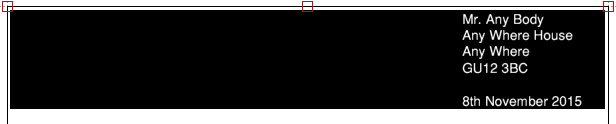
You can spruce things up a little. First, let's make the letter more letter-like. Push the address over to the right side by pressing Tab. Then press Enter twice, and on the second line, Tab over to where the address is aligned, and press Ctrl Insert to insert the date.
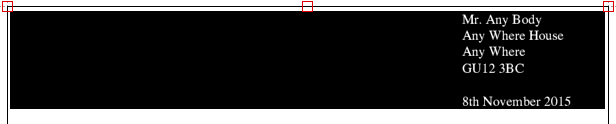
Now let's change the font of the address and date to make it stand apart from the text. Go to the top left of the document, hold down Select (the left mouse button, if you're new to RISC OS), and drag down to the end of the date. Then let go of Select.
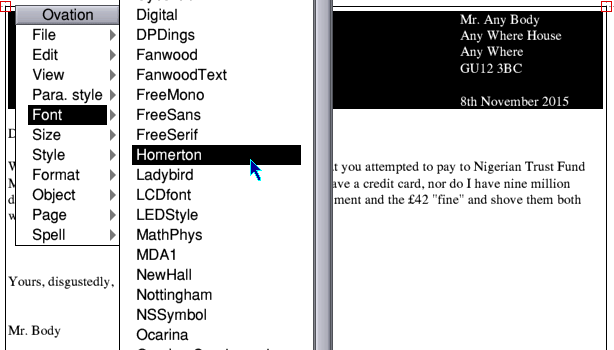
Now click Menu (middle mouse button, may be a scroll wheel) to call up the menu. Go down to the Font option and follow the arrow to the right. A list of available fonts will open - don't worry if the fonts on your system look different. Find the font called Homerton (which is a sans-serif font not unlike Arial) and click upon it.
The text will change to be the Homerton font, but you will notice that the sans-serif fonts always seem to appear larger than a serif font of the same size.
To balance this visually, press Ctrl , (that's a comma) to knock the text size back 1pt. This looks better.
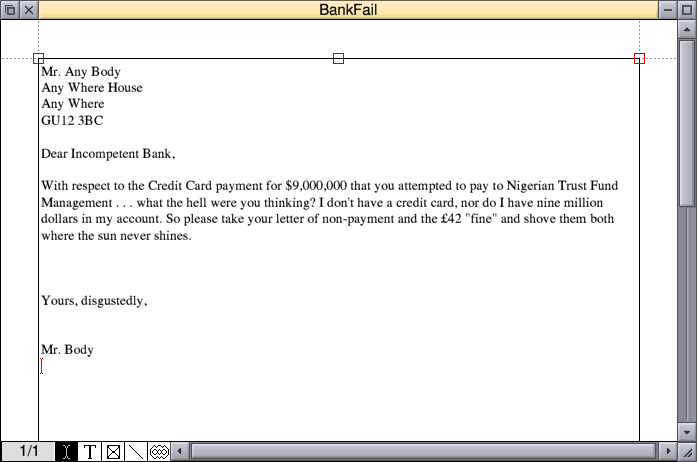
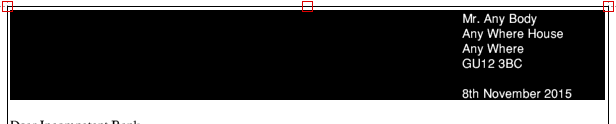
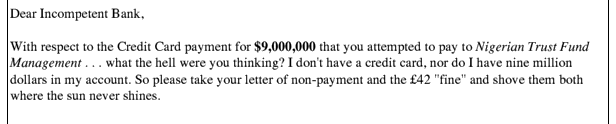
Now we can apply some formatting to the letter content. You don't want to overdo it, but some things need emphasising. First, drag-select the dollar amount and press Shift Ctrl B to make it bold. Then drag-select the name "Nigerian Trust Fund Management" and press Shift Ctrl I to make it italics. The end result should look like this:
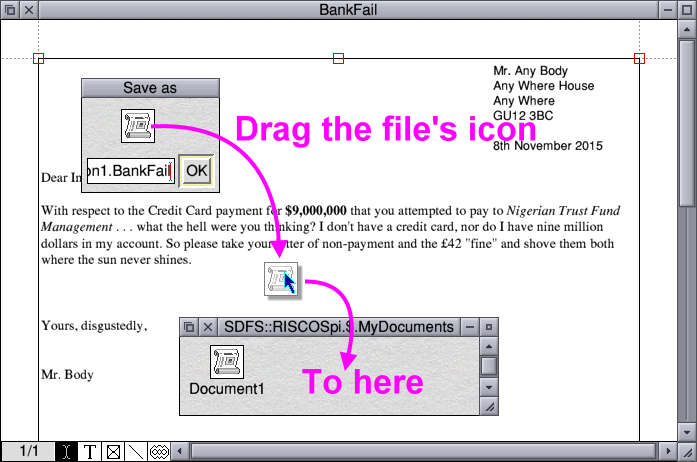
Press F3 to call up the Save as dialogue. Give the file a name (I called mine "BankFail") and then drag the icon to a directory viewer. For those used to Windows, the RISC OS Save dialogue boxes do not contain a view of the filing system. Instead, you should open up a directory viewer and drag the file icon to the directory where you would like the file to be saved.
If you think that seems clumsy, then consider this: you can run Edit (the built-in text editor) and you can "save" your document directly into Edit by dragging it to Edit's iconbar icon. Likewise, you can "save" pictures from Paint and drawings from Draw directly into Ovation, if you wished.
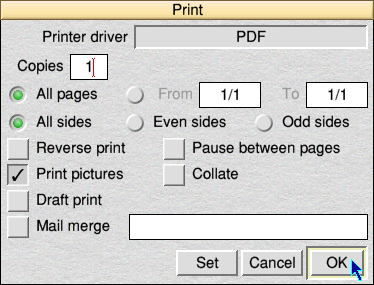
Now press Print (or PrntScrn or the like) to open the Print dialogue. As you can see, I have Steve Fryatt's PrintPDF set up, so I can print the document as a PDF file.
Okay. Time for something a little more complicated. I want a two-sided sheet. I want two columns of justified text. I want a title, big and bold, with a drop shadow. I want a sub title with a thin line offsetting above and below. And I want some pictures inserted in the appropriate places. And I want it yesterday. ☺
Right then.
New document.
Save it as "Newsletter", and then in the File menu, go to Auto save and enter "5" in the box (to auto-save every 5 minutes). Press Enter to accept this.
Go to the Page menu, and click on Show master pages.
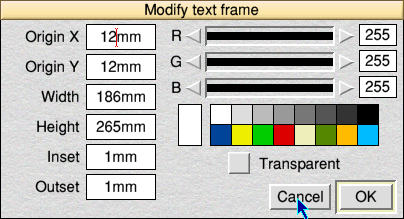
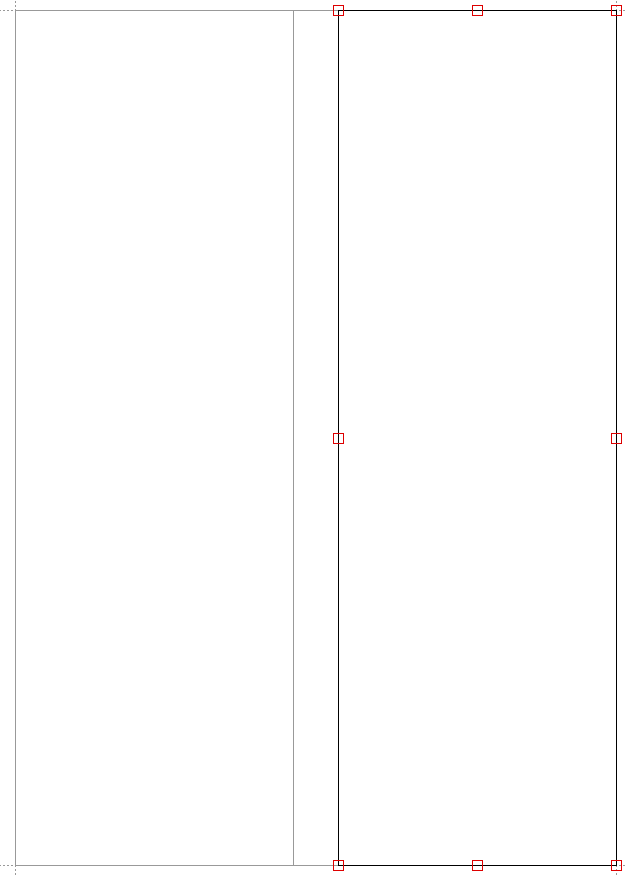
A new window will open titled "MasterNewsletter". Now it is time to create some frames. First, though, we need some values. So click in the normal text frame to select it, then press Shift Ctrl M to open the Modify text frame dialogue. We can see that the main frame is 186mm across.
We don't need this any more, so tap Escape to dismiss it.
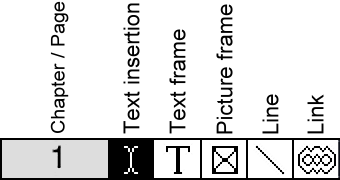
Now look to the bottom of the window. There is a '1' (the current page), followed by five control buttons. These are:
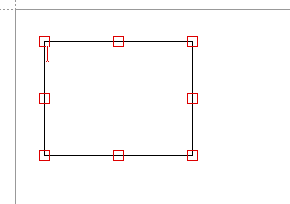
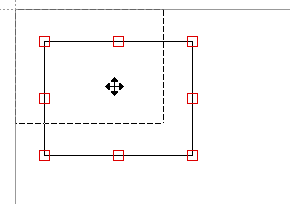
We will want to create some text frames, so click on the 'T' icon, and then drag out a box in the upper left part of the main text frame:
Hold Adjust (right mouse button) and drag the frame to align with the upper left of the text frame.
Now grab the resize-downwards handle (the bottom centre red square) and use Select to drag it down to the bottom of the main text frame.
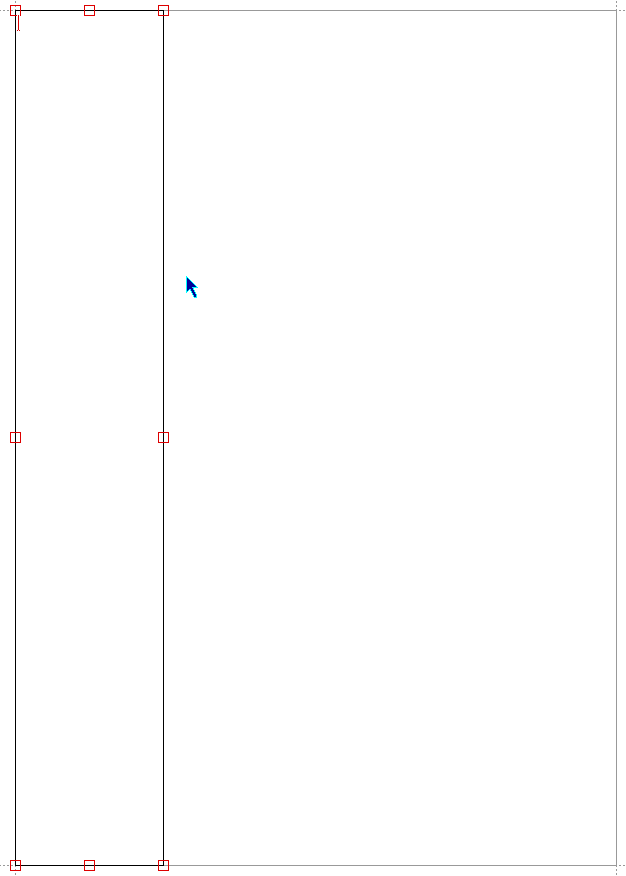
Now press Shift Ctrl M to call up the Modify text frame dialogue. If you recall, the master frame was 186mm. Now we're going to leave 16mm (just over a centimetre and a half, or 0.6") between the frames. Subtract this to leave 170mm. Divide that by two, this gives us a width of 86mm.
Change the frame Width to be 86mm. While you are there, ensure the Height is 265mm and not something weird like 264.91mm. Click on OK when you're done.
The result will be this:
Now we need the right hand frame.
Click on the 'T' icon and drag out a frame on the right hand side of the main text frame. Do not place this frame within the one you have just created, or it will become a child frame within it!
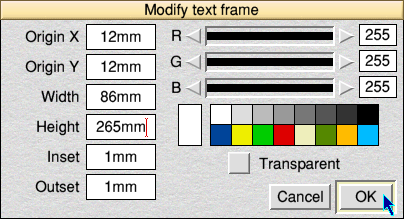
Now we already have some sizes so we can go directly to the Modify text frame dialogue. The X origin is 12 (main frame offset) plus 186 (main frame width) minus 86 (frame width). So set the Origin X to 112mm. The Origin Y is 12mm. The Width is 86mm and the Height is 265mm. OK it, and you will see this:
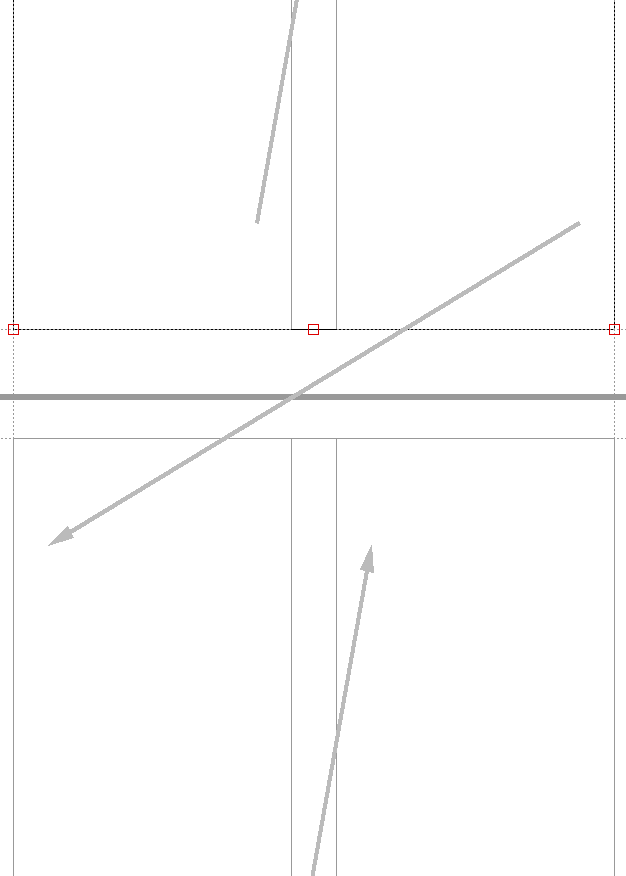
Now we need some magic. We need to specify text reflow. To do this, click on the fifth icon on the toolbar, the one that looks like weird glasses. Click in the left text frame and drag out the line to the right text frame.
Now close the Master page.
It will seem as if Ovation has ignored you. Don't worry.
Go to the Page menu, and choose Insert page.... Now specify that you want to insert 2 pages before page 2. This is a slightly complicated way of saying "replace the first page with the styled one, then add another like it afterwards".
Now drag the document down until the border between pages is in the middle of your screen. Choose the linkage tool (the weird glasses) and make a link from the upper right text frame to the lower left text frame. This is so the text will flow from one page to the next.
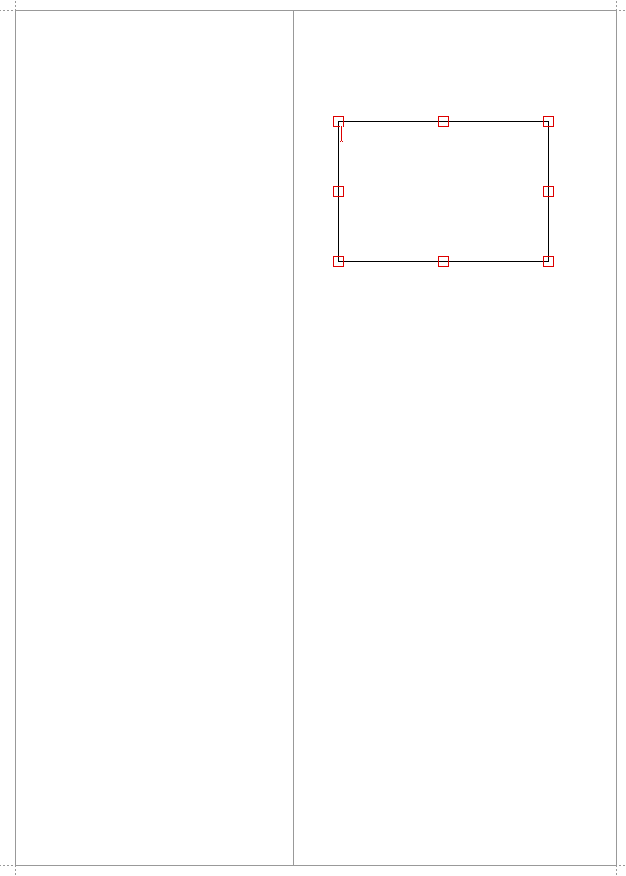
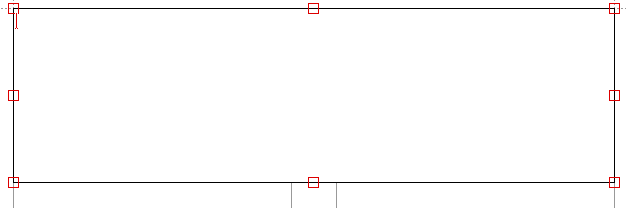
Back to the top, drag out a text frame from the main text frame (not the left or right text frames), then scoot it to the upper left position and drag it out to fill the width. Like this:
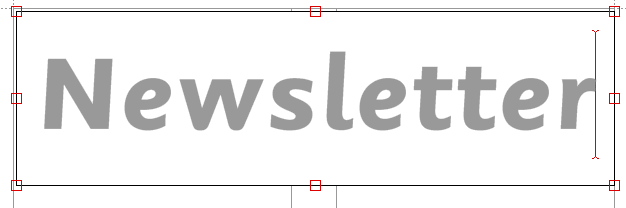
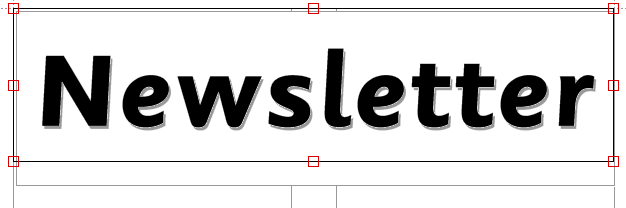
Write the word "Newsletter", then find a font combination that looks good. Here, I am using Sassoon (looks like Comic Sans!), bold, 100pt.
Don't know how to change styles and sizes? Here's a hint - two options in the menu - one called Style, the other called Size. ☺
Set the colour to be mid grey (Style menu, Colour... option). Centre aligned.
Then go to the Modify text frame dialogue and set the Width to be 185mm and the two Offsets to be 13mm each.
Select the text "Newsletter" and press Ctrl C to copy it to the clipboard.
Now create another frame inside that main text frame. Put it at the upper left position. Don't worry about the underlying frame. Press Ctrl V to paste the text, and then set its colour to be black.
Now for another dose of applied magic. Go to the Modify text frame dialogue and tick the Transparent option.
Ta-dah! A title with shadow.
Shrink the frames so they're only as high as they need to be to contain the text. If the text vanishes and a little black square with a white arrow appears on the lower right of the frame, you've made it too small.
Now create another frame (from the main text frame), put it into place, and insert some appropriate text. Here, I am using 18pt Homerton bold.
Now we call the Line tool into play. This is the fourth one, that looks like a big backslash. Select the tool, and then hold down Shift while dragging the line from centre to the right margin, just above the sub title. Keep holding Shift (this constrains the line to be either vertical or horizontal) and pick up the left handle of the line and drag it out to the left margin. You can't do it directly from left to right as it risks messing with the sub title frame.
With the line still selected (handles at either end), press Shift Ctrl M to call up the Modify line dialogue, and set the line thickness to 1.5mm.
Repeat this action to place another line, 1.5mm thick, below the subtitle. When the line is selected, you can drag it using Adjust to alter its position. When that is done... your header is complete.
But, for the hell of it... Make a small transparent frame on the right of the sub title. With a small font (I'm using 10pt Trinity italic), say that this is Issue #1 and it is November 2015.
It'll look like this:
Inserting the body text. I picked up 11 paragraphs of Lorem Ipsum (fake latin text used to visualise something) from http://www.lipsum.com/ which I saved straight from NetSurf into the document.
Select all of the body text (click on it five times quickly) and press Ctrl Shift J to justify it.
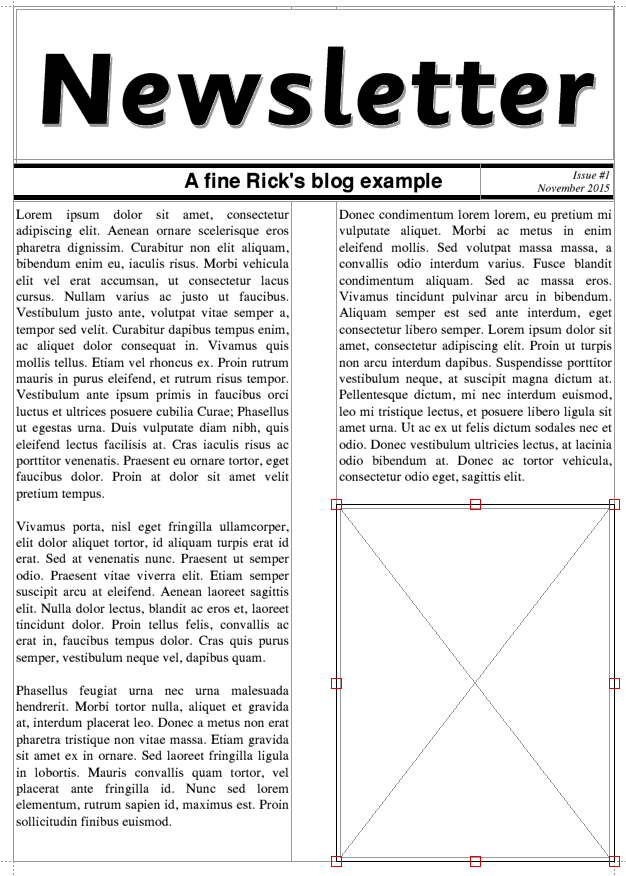
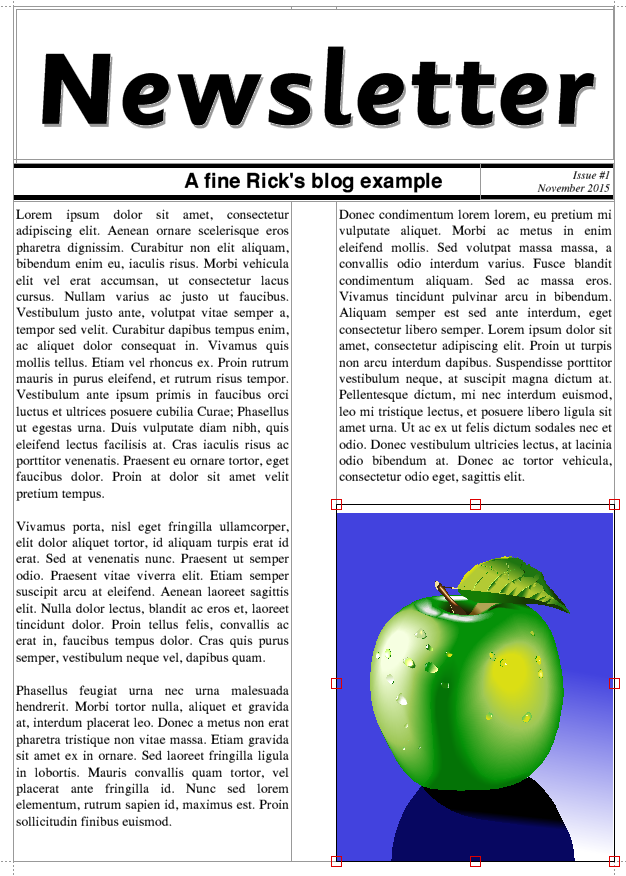
Now for a bit of colour. Select the picture frame tool. That's the square with the 'x' inside it. Then drag out a picture frame within the right hand text frame, starting about two thirds of the way down.
If you have the Raspberry Pi SD card image, then pick up the colourful apple drawing from $.Documents.Images.Artworks.Apple5. Drag it into the picture frame. If you don't have this file, make a quick doodle in Draw and save it into the frame.
Now we need a dopey "profit" chart to make page 2 look less boring. Make a picture frame from the main text frame and stick it centre of the page, about two thirds of the way down. Size it so it is centred between the columns of text, so that the text fills the page without overflowing. Create a crappy example "infographic" in Draw and save it into the document. Something like this:
I had a blank line at the bottom, so I wrote "The End." in right-aligned italics.
That's it done. A two column two page newsletter with shadowed heading and sub title, that looks like this in Adobe Reader (scaled two-up mode):
Here is the PDF printed from Ovation on my Pi: newsletter.pdf (135KiB)
And here is the original Ovation file if you want to play with it: Newsletter.cdd (87KiB). Note that OvationPro for Windows cannot load Artworks drawings.
For a laugh, I'll finish with a practical demonstration of Ovation. Frobnicate issue #14 from Summer 1997 (erk, 18 years ago!). It is a Spark file, so will need Spark or SparkFS to unpack. Don't bother trying to unpack this on a PC. WinZip doesn't "do" Spark.
For what it's worth, my Acorn code (with some random modern updates) is: AcornCodev1.01: A7 pi/SD2g/256/ro5*/eth100/wifi/serial/oled beaglexm/U1g/512/ro5/eth100 rpc7/I20g/A7/16/ro++++/I/sp/dg/eth10 a5000/I500m/4/ro a3000/I60m/4/ro a3000/0/2/ro a310/0/1/ro--- BB3 ed+++ dc !nl EC+++>EC EC* pc pr++
I think. I dunno. It's quite out of date now. NewerLook? Hell, I don't even remember that!
Your comments:
Please note that while I check this page every so often, I am not able to control what users write; therefore I disclaim all liability for unpleasant and/or infringing and/or defamatory material. Undesired content will be removed as soon as it is noticed. By leaving a comment, you agree not to post material that is illegal or in bad taste, and you should be aware that the time and your IP address are both recorded, should it be necessary to find out who you are. Oh, and don't bother trying to inline HTML. I'm not that stupid! ☺ ADDING COMMENTS DOES NOT WORK IF READING TRANSLATED VERSIONS.
You can now follow comment additions with the comment RSS feed. This is distinct from the b.log RSS feed, so you can subscribe to one or both as you wish.
This web page is licenced for your personal, private, non-commercial use only. No automated processing by advertising systems is permitted.
RIPA notice: No consent is given for interception of page transmission.